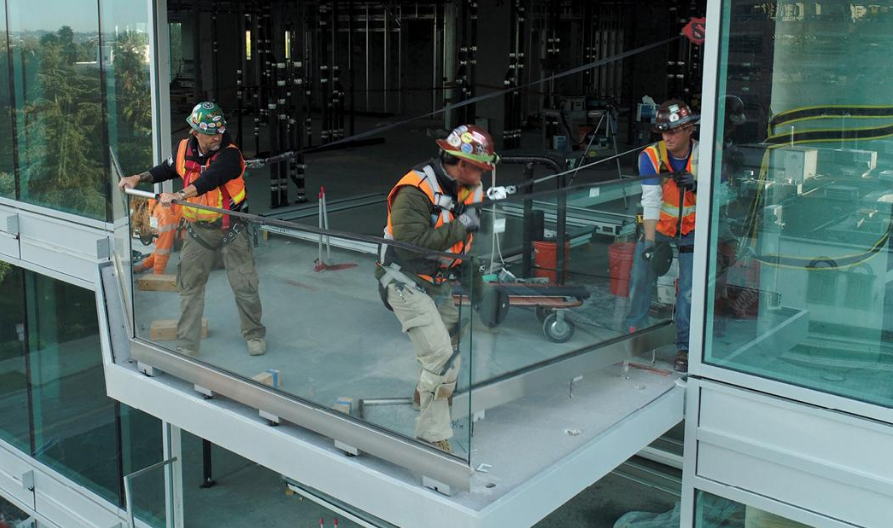
Installing a shower cubicle can transform your bathroom into a modern, clean, and efficient space. Whether you’re planning a DIY project or hiring professionals, this guide covers everything you need to know about shower cubicle installation in Kenya and shower cubicle installation in Nairobi.
If you’re looking for reliable experts, we offer professional shower installation services in Kenya, including repairs and custom fittings.
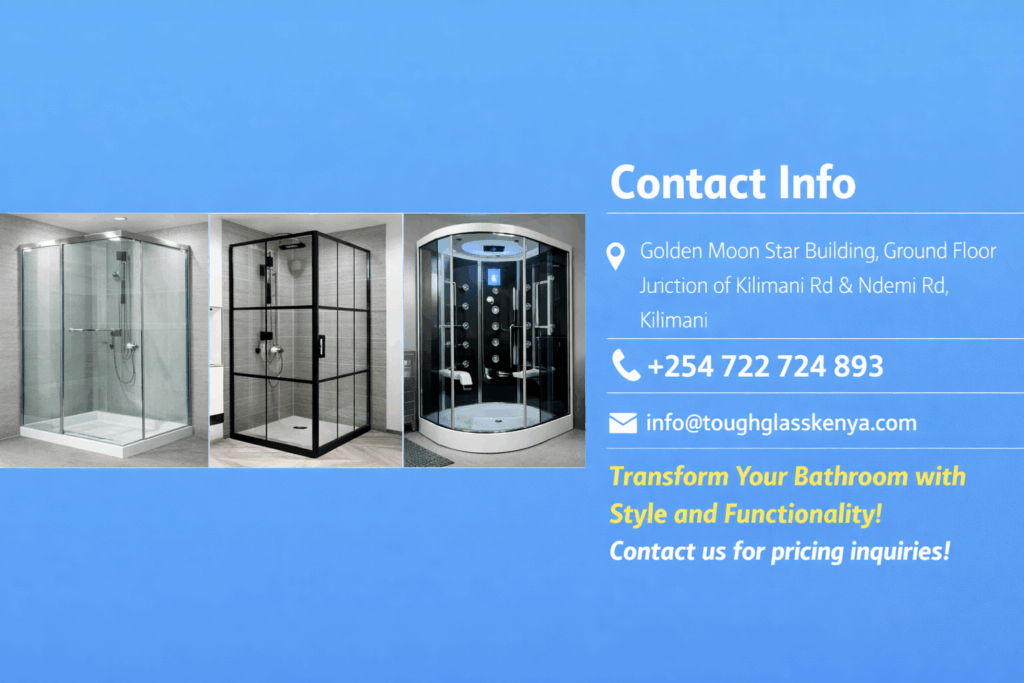
Contact us:
- Golden Moon Star Building, Ground Floor, Junction of Kilimani Rd & Ndemi Rd, Kilimani
- +254 722 724 893
- info@toughglasskenya.com

Table of Contents
- Planning and Preparation
- Assessing the Space
- Choosing the Right Shower Cubicle
- Gathering Tools and Materials
- Removing the Old Shower (if applicable)
- Turning Off Water Supply
- Removing Fixtures and Fittings
- Preparing the Area
- Ensuring Proper Plumbing
- Checking for Level Floors and Walls
- Installing the Shower Tray
- Positioning the Tray
- Securing the Tray
- Connecting the Drainage
- Assembling the Shower Cubicle
- Building the Frame
- Attaching the Panels
- Sealing the Edges
- Installing the Doors
- Hanging the Doors
- Adjusting for a Proper Fit
- Final Checks and Sealing
- Inspecting for Leaks
- Applying Silicone Sealant
- Maintenance Tips
- Regular Cleaning
- Preventing Mold and Mildew
Planning and Preparation for Shower Cubicle Installation in Kenya
Assessing the Space
Measure your bathroom carefully to determine the best placement. Proper spacing ensures comfort and efficiency during your bathroom shower installation in Nairobi. Make sure walls and floors are level to avoid installation issues.
Choosing the Right Shower Cubicle
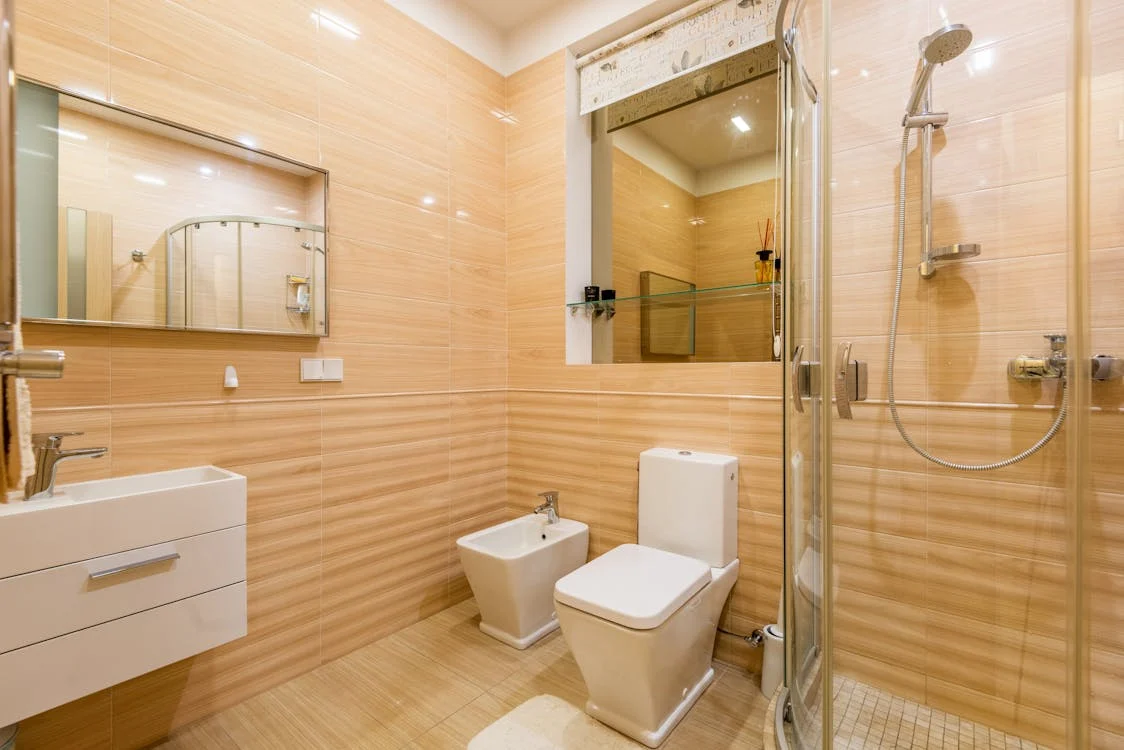
Select a design that matches your bathroom and budget. Popular options include frameless shower cubicles in Kenya, corner units, and walk-in showers. You can also explore glass shower cubicles in Nairobi for a modern look.
Gathering Tools and Materials
To complete your glass shower installation in Kenya, you’ll need:
- Tape measure
- Screwdrivers
- Drill and drill bits
- Spirit level
- Silicone sealant and applicator
- Adjustable wrench
- Shower tray and cubicle kit
- Screws and wall plugs
- Plumber’s tape
Removing the Old Shower (If Applicable)

Turning Off the Water Supply
Before starting your shower enclosure installation in Nairobi, turn off the water supply and drain any remaining water.
Removing Fixtures and Fittings
Carefully remove the old unit, including panels and fittings. If unsure, consider hiring professional shower installation services in Kenya to avoid damage.
Preparing the Area
Ensuring Proper Plumbing
Check all plumbing connections before proceeding. Proper setup is key for long-lasting shower installation services in Kenya.
Checking for Level Floors and Walls
Use a spirit level to ensure even surfaces. Uneven areas can lead to leaks and poor fitting.
Installing the Shower Tray
Positioning the Tray
Place the tray in position and ensure it is level. This is a critical step in shower cubicle installation in Nairobi.
Securing the Tray
Fix the tray securely using screws and wall plugs according to manufacturer instructions.
Connecting the Drainage
Connect the waste pipe carefully. Use plumber’s tape to prevent leaks, especially in glass shower installation in Kenya projects.
Assembling the Shower Cubicle
Building the Frame
Assemble the frame based on the provided instructions. This step is essential for proper shower enclosure installation in Nairobi.
Attaching the Panels
Install the panels securely. Many homeowners prefer custom shower cubicles in Kenya for a perfect fit and premium finish.
Sealing the Edges
Apply silicone sealant along all joints to prevent water leakage.
Installing the Doors
Hanging the Doors
Install sliding or hinged doors carefully. Options like sliding shower doors in Kenya are popular for saving space.
Adjusting for a Proper Fit
Ensure the doors close tightly to prevent water escape. This improves durability and performance.
Final Checks and Sealing
Inspecting for Leaks
Turn on the water and inspect all connections. This is crucial for ensuring quality shower cubicle installation in Kenya.
Applying Silicone Sealant
Seal all edges and joints properly. Allow drying time as recommended.
Maintenance Tips for Long-Lasting Glass Shower Cubicles in Nairobi
Regular Cleaning
Keep your unit clean using mild products. Regular maintenance helps preserve your glass shower cubicles in Nairobi.
Preventing Mold and Mildew
Ensure proper ventilation and wipe down surfaces after use. This reduces moisture buildup and extends the life of your installation.
Proper shower cubicle installation in Kenya requires planning, the right tools, and attention to detail. Whether you choose DIY or hire experts, following these steps ensures a functional and stylish bathroom.
For affordable and reliable services, we provide shower cubicle installation in Nairobi, repairs, and custom solutions tailored to your needs. Contact us today for the best shower installation services in Kenya.