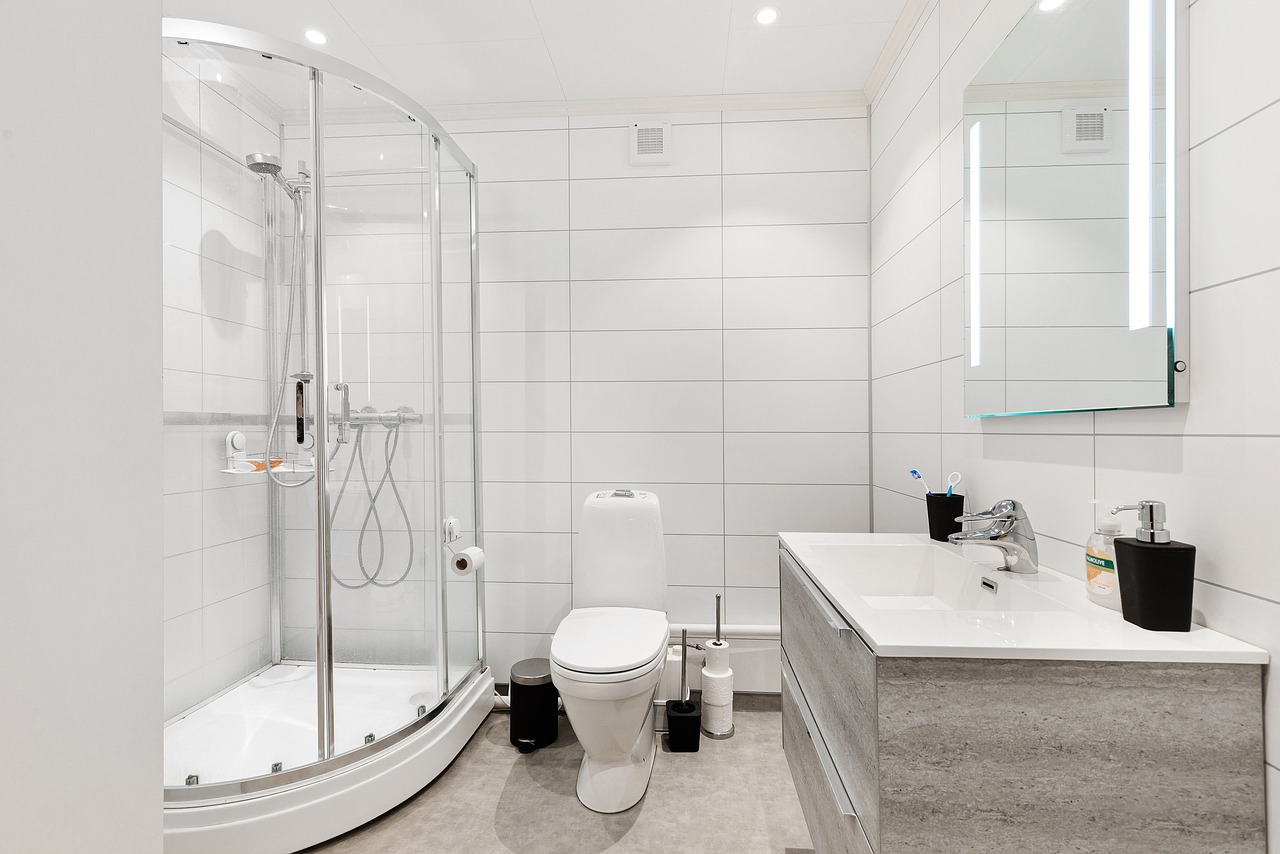
A glass shower cubicle door may develop leaks due to various factors, but once you’ve identified the source, repairing it becomes a simple process. Understanding a few key steps is essential. If you are looking for glass shower cubicle door leaks repair, look no further than Tough Glass Kenya
Firstly, it’s important to eliminate any soap scum or mildew buildup on the glass door, as this buildup can hinder the effectiveness of the shower door leak guard. Next, focus on examining the door hinges and the seal for any signs of wear or damage. Once that’s done, proceed to install a drip rail and apply caulking to any leak-prone areas in the grout. Finally, conduct a thorough test to ensure the issue has been resolved.
Modern glass showers typically feature either framed or frameless designs, constructed from laminated tempered glass. Exploring the distinctions between these designs and their impact on glass shower door leaks is essential.
Repairing leaks in a glass shower cubicle door is a common task that can be easily tackled with the right approach. Here’s a guide to help you address this issue effectively:
Identifying the Source of the Leak
The first step in repairing a leaking glass shower cubicle door is to pinpoint the source of the leak. Leaks can occur due to various reasons, such as gaps in the seal, damaged hinges, or deteriorated grout. Inspect the door thoroughly to locate any visible signs of leakage.
Cleaning and Preparation
Before starting the repair process, it’s crucial to clean the glass door and surrounding areas to remove any soap scum, mineral deposits, or mold buildup. Use a mild detergent or glass cleaner along with a non-abrasive sponge to ensure the surface is clean and free from obstructions.
Seal Inspection and Replacement
Check the integrity of the door seal and gaskets to see if they are worn out or damaged. If there are any cracks or gaps in the seal, it may need to be replaced. Consult the manufacturer’s instructions or seek professional advice to find the appropriate replacement seal for your shower cubicle door.
Caulking and Grout Repair
Inspect the grout lines around the edges of the glass door for any signs of deterioration or gaps. Use a waterproof silicone caulking compound to fill in any cracks or spaces in the grout that could be contributing to the leak. Ensure that the caulking is applied evenly and allowed to dry completely before testing the door for leaks.
Hinge Adjustment and Maintenance
Examine the door hinges for any looseness or misalignment that could be causing the door to not seal properly. Tighten any loose screws and adjust the hinges as needed to ensure a snug fit when the door is closed. Lubricate the hinges with silicone or graphite lubricant to keep them operating smoothly.
Testing and Final Checks
Once you’ve completed the repair process, it’s essential to test the door for leaks thoroughly. Close the door and run water over it to simulate showering conditions. Check for any signs of leakage around the edges of the door and make any necessary adjustments or additional repairs as required.
By following these steps, you can effectively undertake glass shower cubicle door leaks repair and ensure a watertight seal for a pleasant showering experience. If you encounter any difficulties or if the leak persists despite your efforts, consider seeking professional assistance to address the issue comprehensively.


