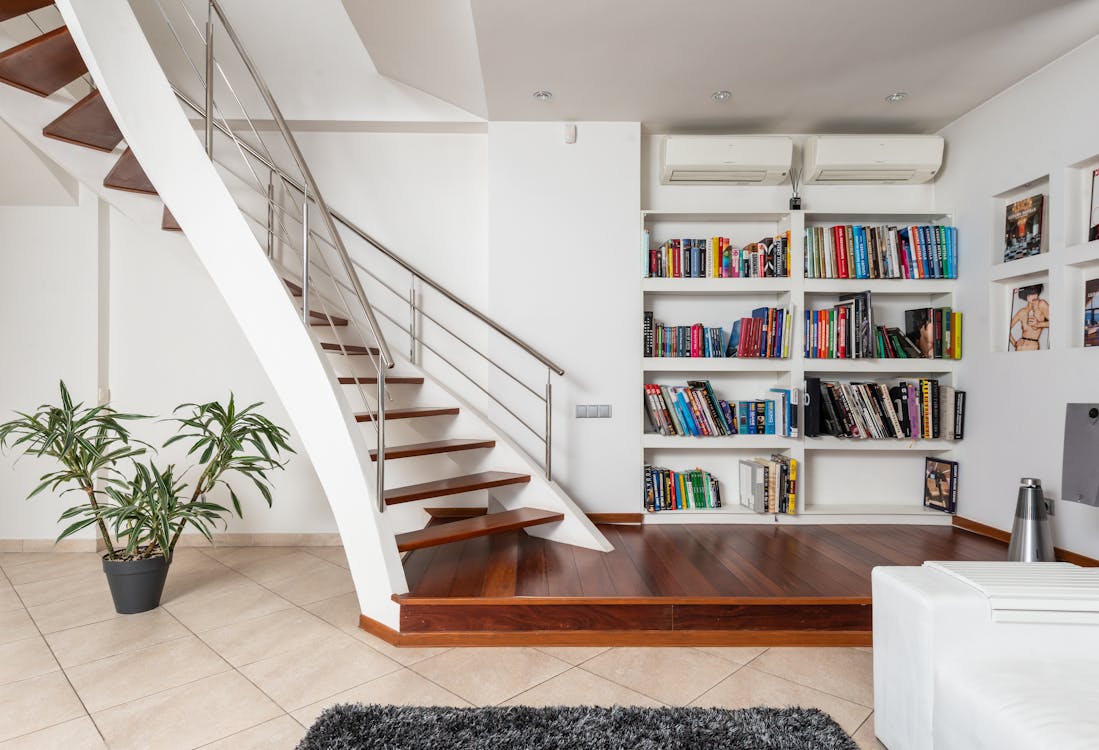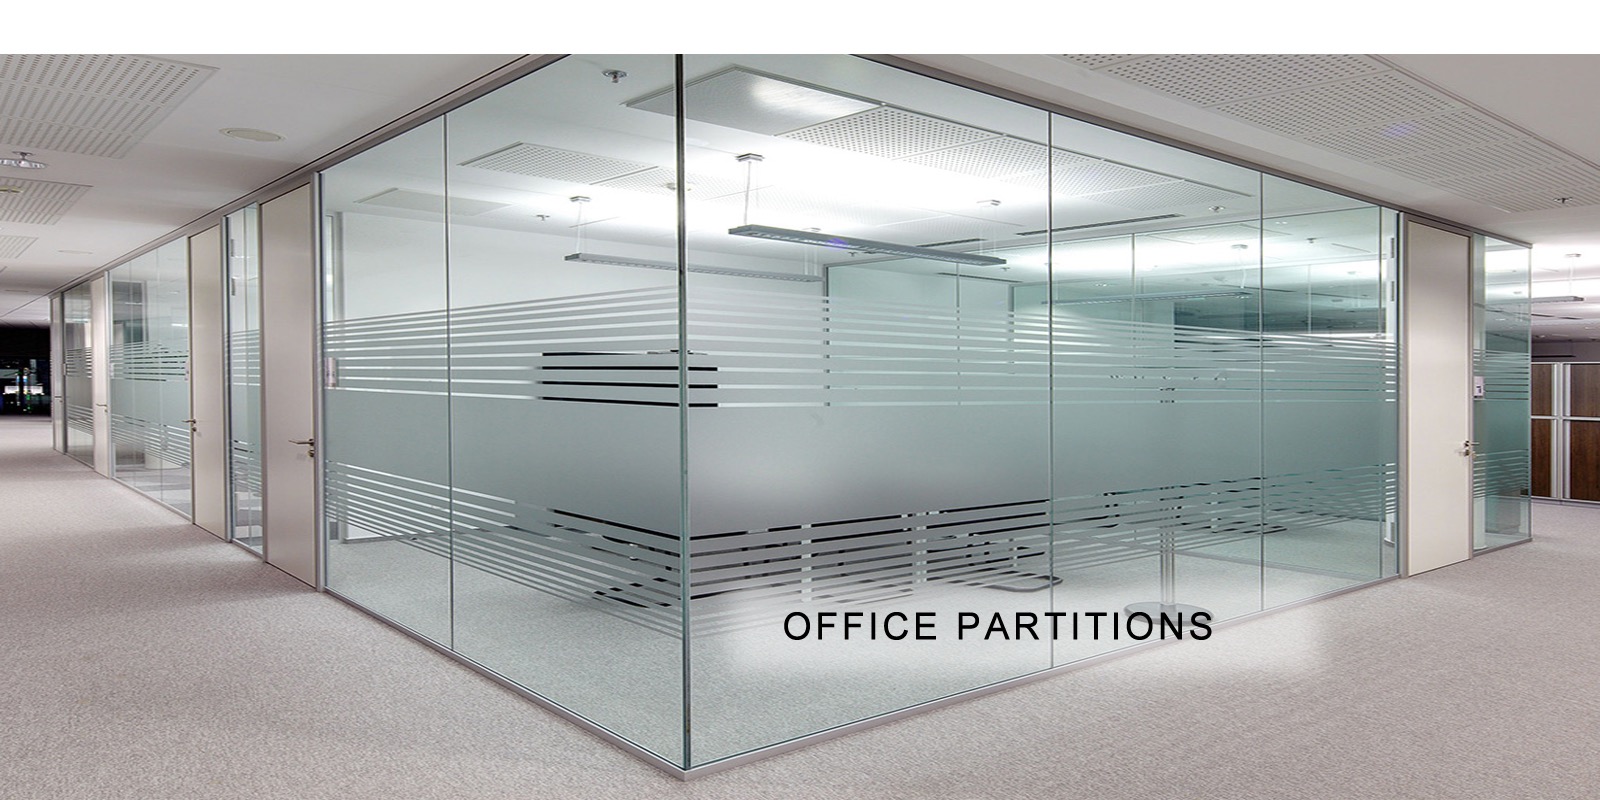
A glass balustrade is a stylish and contemporary railing system that uses glass panels to provide a clear view while ensuring safety. Whether you’re installing it indoors for a staircase or outdoors for a balcony on your Kenyan building, the process requires precision and the right tools. This guide covers the essential steps and considerations for a successful installation, showing you how to install a glass balustrade efficiently and effectively.
Contact Us
Golden Moon Star Building, Ground Floor Junction of Kilimani rd & Ndemi rd Kilimani
+254 722 724 893
Table of Contents
- Introduction
- Materials and Tools Needed
- Preparation
- Installing the Posts
- Attaching the Glass Panels
- Securing the Handrail
- Finishing Touches
- Maintenance Tips
- Conclusion
1. Introduction
A glass balustrade on a Nairobi building is a stylish and contemporary railing system that uses glass panels to provide a clear view while ensuring safety. Whether you’re installing it indoors for a staircase or outdoors for a balcony, the process requires precision and the right tools. This guide covers the essential steps and considerations for a successful installation.
2. Materials and Tools Needed
Before starting the installation, gather all necessary materials and tools:
Materials:
- Glass panels (tempered or laminated)
- Posts (metal or wood, depending on design)
- Handrail
- Glass clamps or channels
- Fixing screws and bolts
- Rubber gaskets and spacers
- Sealant
Tools:
- Measuring tape
- Level
- Drill
- Screwdriver
- Wrench
- Rubber mallet
- Safety gear (gloves, goggles)
3. Preparation
Read Also,: Glass Balustrade Installation and Cleaning in Kenya
3.1. Measure and Plan
- Measure the area where the balustrade will be installed.
- Plan the layout, including the position of the posts and the size of the glass panels.
- Ensure the design complies with local building codes and regulations.
3.2. Check Surface
- Ensure the surface where the balustrade will be installed is clean, level, and sturdy.
- Make any necessary repairs to the installation area.
3.3. Safety First
- Wear appropriate safety gear, including gloves and goggles, to protect yourself during the installation process.
4. Installing the Posts
4.1. Mark Post Locations
- Use a measuring tape and level to mark the positions of the posts.
- Ensure equal spacing between posts for a uniform look and structural integrity.
4.2. Drill Holes
- Drill holes at the marked locations for securing the posts.
- Ensure the holes are drilled to the appropriate depth and diameter based on the fixing screws and bolts.
4.3. Secure Posts
- Place the posts in position and secure them using fixing screws and bolts.
- Use a level to check that each post is perfectly vertical.
- Tighten the screws and bolts to ensure the posts are firmly secured.
5. Attaching the Glass Panels
5.1. Position Glass Clamps or Channels
- Attach glass clamps or channels to the posts according to the manufacturer’s instructions.
- Use rubber gaskets and spacers to protect the glass and ensure a secure fit.
5.2. Install Glass Panels
- Carefully lift the glass panels and place them into the clamps or channels.
- Ensure each panel is aligned correctly and securely held in place.
5.3. Secure Panels
- Tighten the clamps or channel screws to secure the glass panels.
- Double-check that the panels are firmly in place and there are no gaps or loose sections.
6. Securing the Handrail
6.1. Measure and Cut Handrail
- Measure the length of the balustrade and cut the handrail to size.
- Ensure the handrail fits snugly over the posts and glass panels.
6.2. Attach Handrail
- Position the handrail over the posts and glass panels.
- Secure the handrail using appropriate fixings, such as screws or brackets.
- Ensure the handrail is level and firmly attached.
7. Finishing Touches
7.1. Check Alignment
- Check the entire balustrade for proper alignment and stability.
- Make any necessary adjustments to ensure a perfect fit.
7.2. Apply Sealant
- Apply sealant around the edges of the glass panels to ensure a watertight seal, especially for outdoor installations.
- Clean any excess sealant for a neat finish.
8. Maintenance Tips on Glass Balustrade Installation in Kenya
- Regularly clean the glass panels using a non-abrasive cleaner and a soft cloth.
- Inspect the fixings periodically to ensure they remain tight and secure.
- Address any damage or wear promptly to maintain the integrity and appearance of the balustrade.
Installing a glass balustrade on a Kenya structure can enhance the aesthetics and functionality of your space. By following these steps, you can achieve a professional-looking installation that provides safety and a modern touch. Always prioritize safety and precision, and don’t hesitate to seek professional help if needed. Understanding how to install a glass balustrade in Kenya ensures that you can transform your space with confidence and skill.


